Tutorial
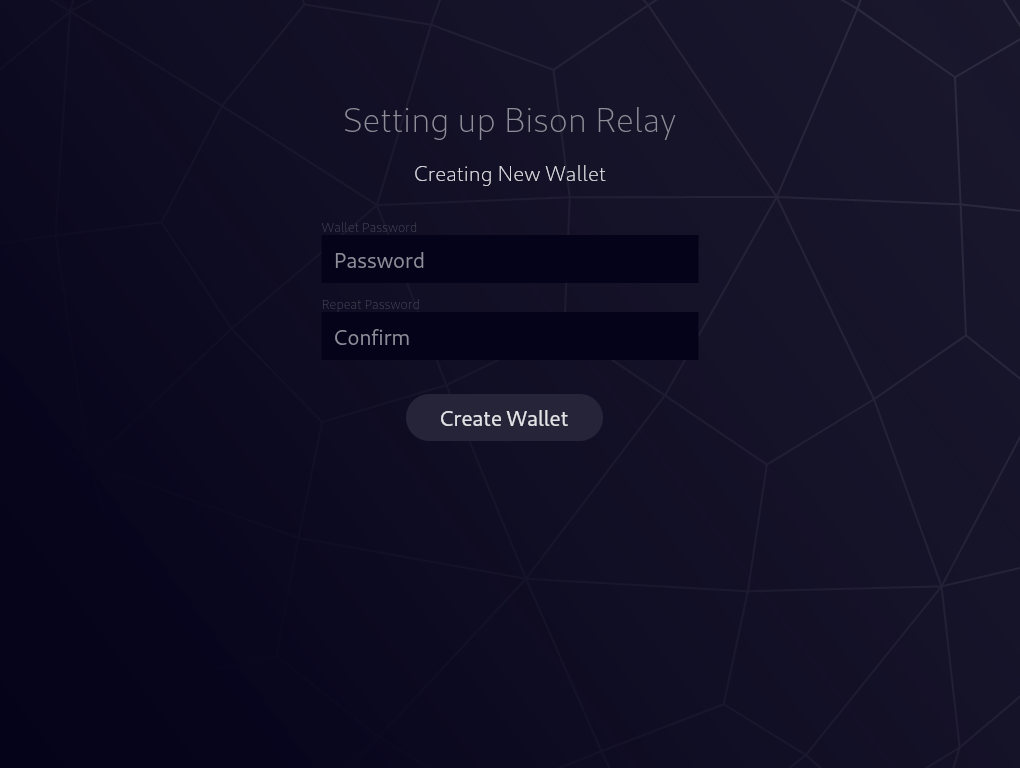
1. Create Wallet
First you must choose and confirm a password for the wallet that handles the micro-transactions at the heart of Bison Relay. You will need to use this password each time you login/open Bison Relay.
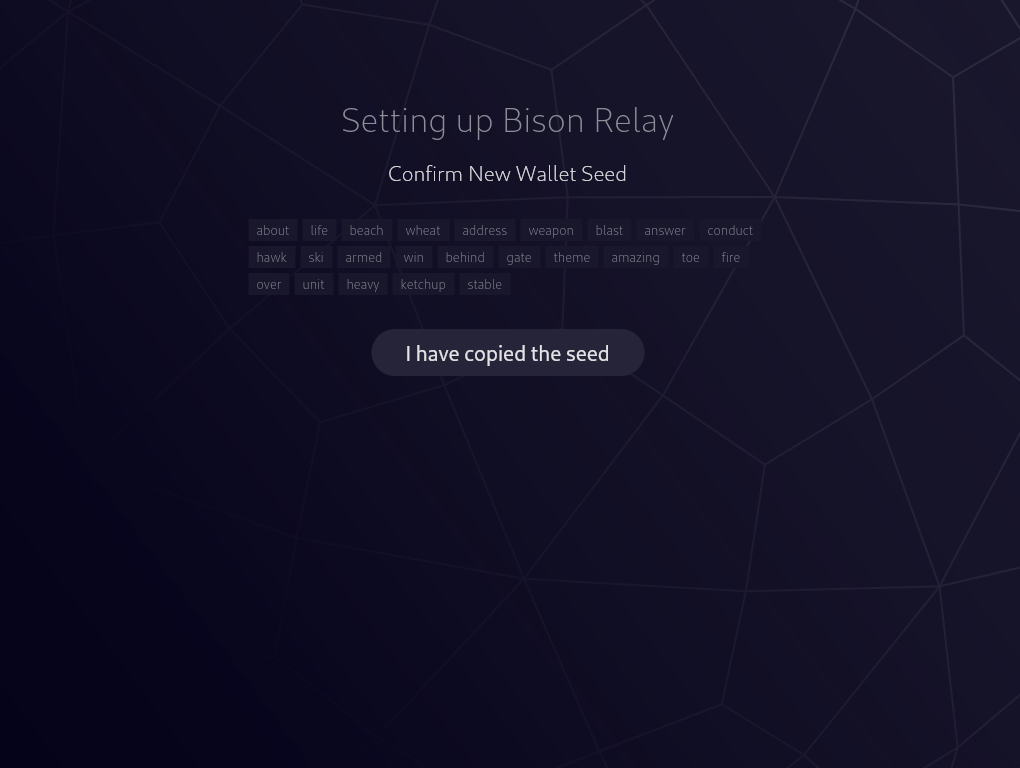
2. Copy Seed
You are then presented with a mnemonic seed that will allow you to recover your wallet in case of loss of access to the current instance. NOTE: You should write this seed down on paper and keep in a secure location.
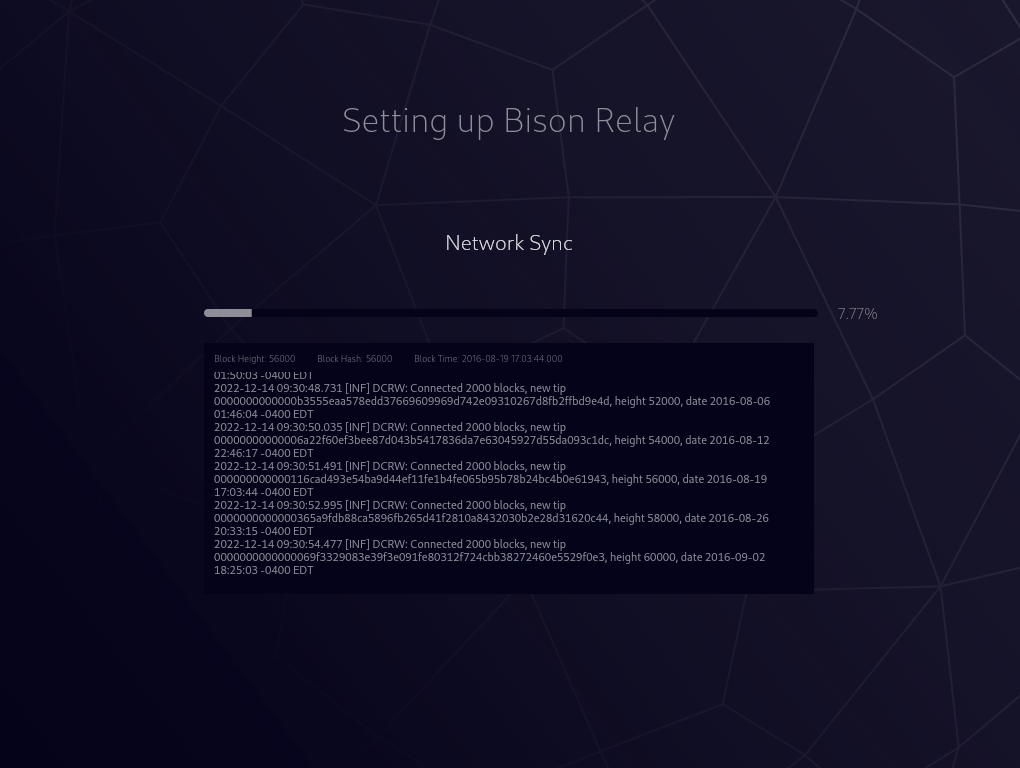
3. Network Sync
The wallet will now sync to the network. This can take up to 20-30 mins on a modern computer.
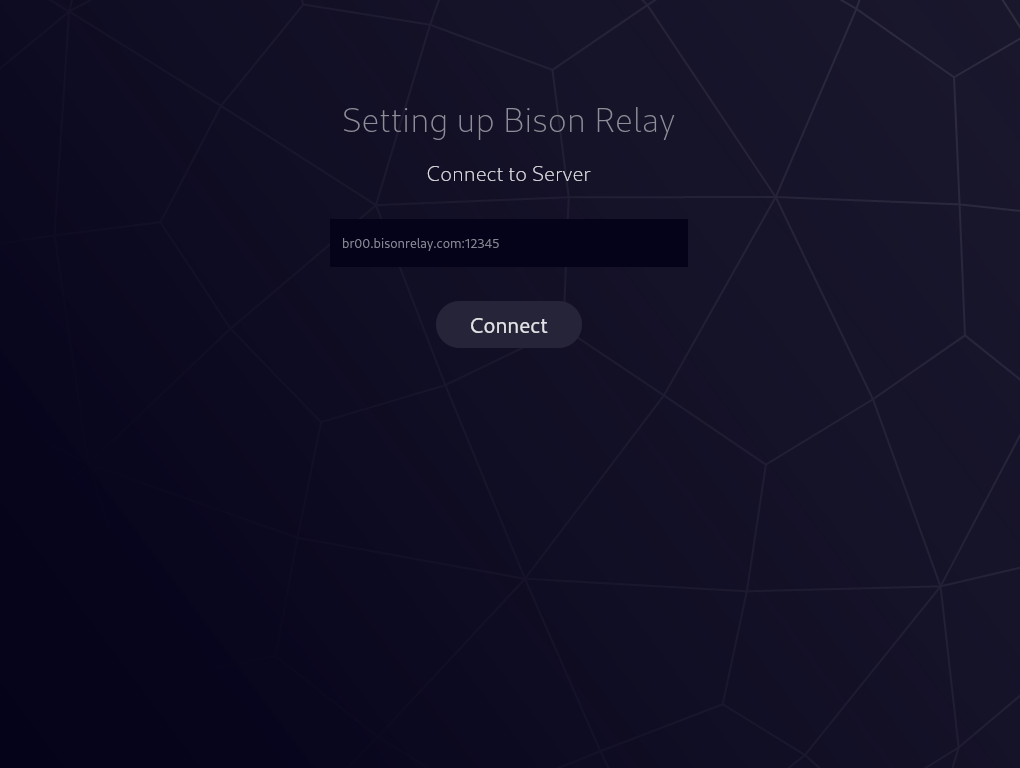
4. Connect Server
We have currently populated the only known Bison Relay server in operation, but as others arise you may choose to enter that address here.
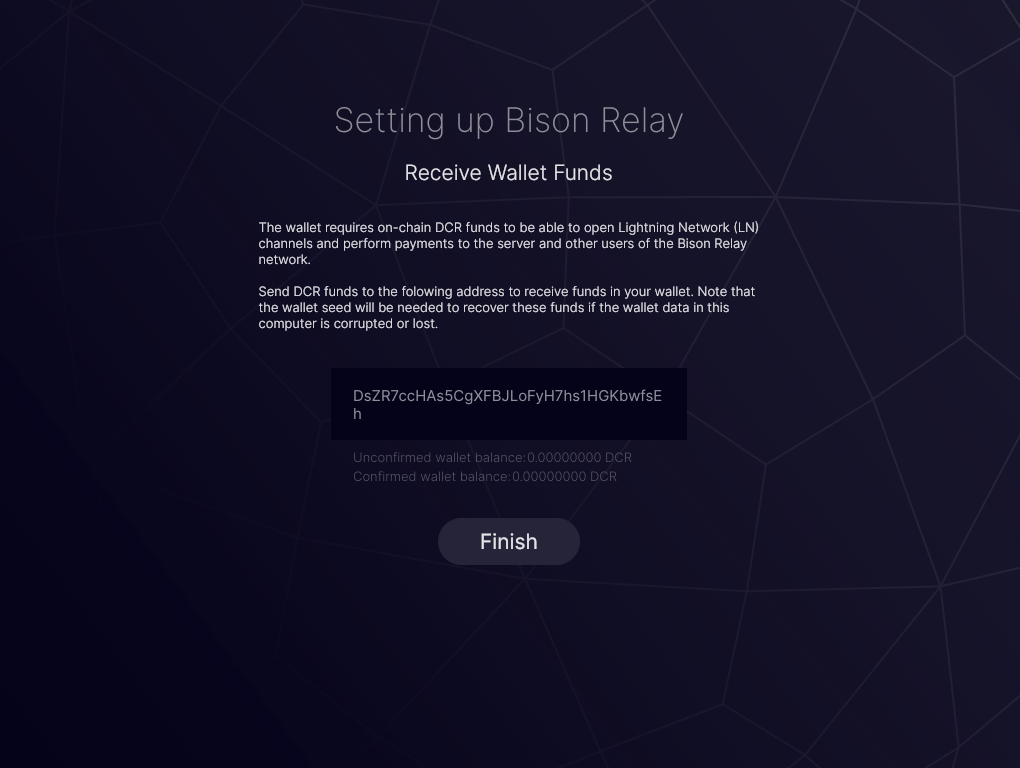
5. Deposit Funds
You are provided an address which you will need to deposit DCR. A small amount such as 0.1 is adequate to get started.
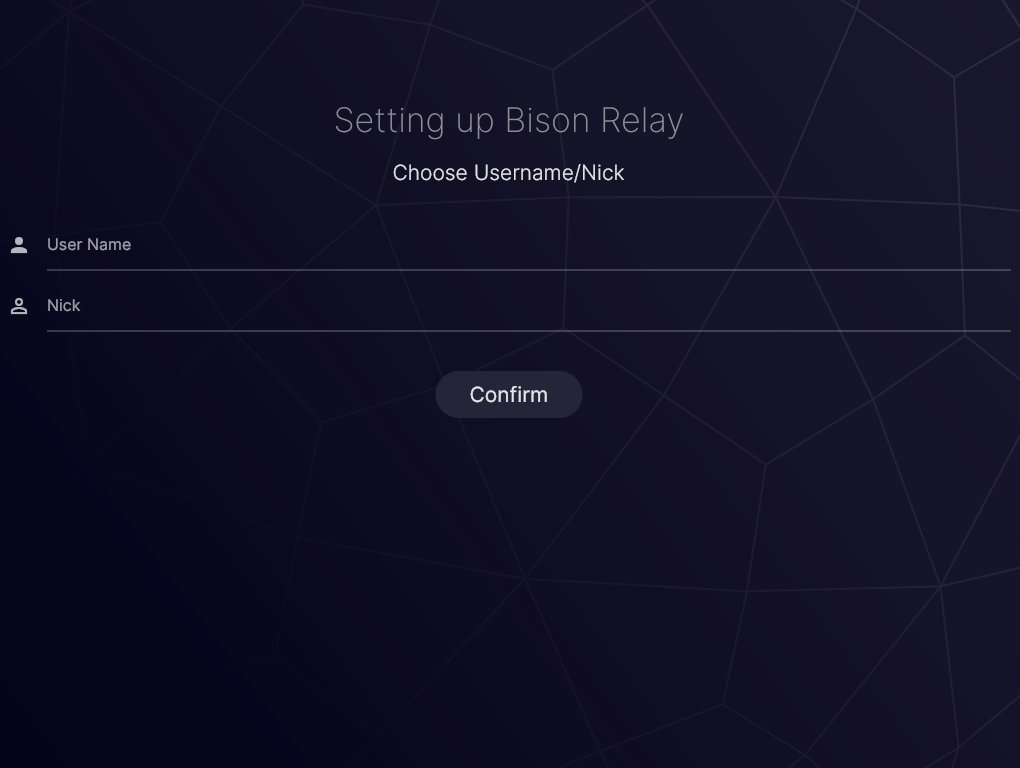
6. Choose Username & Nick
Your username is what will be saved by the client and what will be shown to others you communicate with (this cannot be changed). Your nick is what you see your name appear as locally (can be changed at anytime).
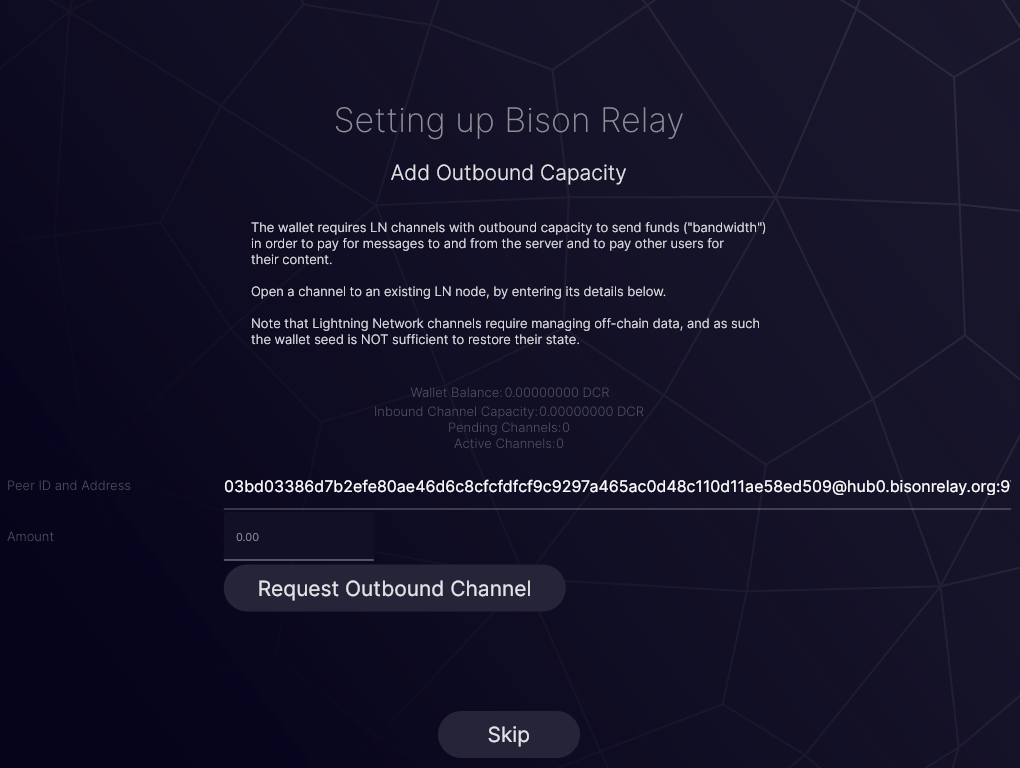
7. Outbound Channel Required
To begin communicating with others you must first establish an outbound channel on the Lightning Network.
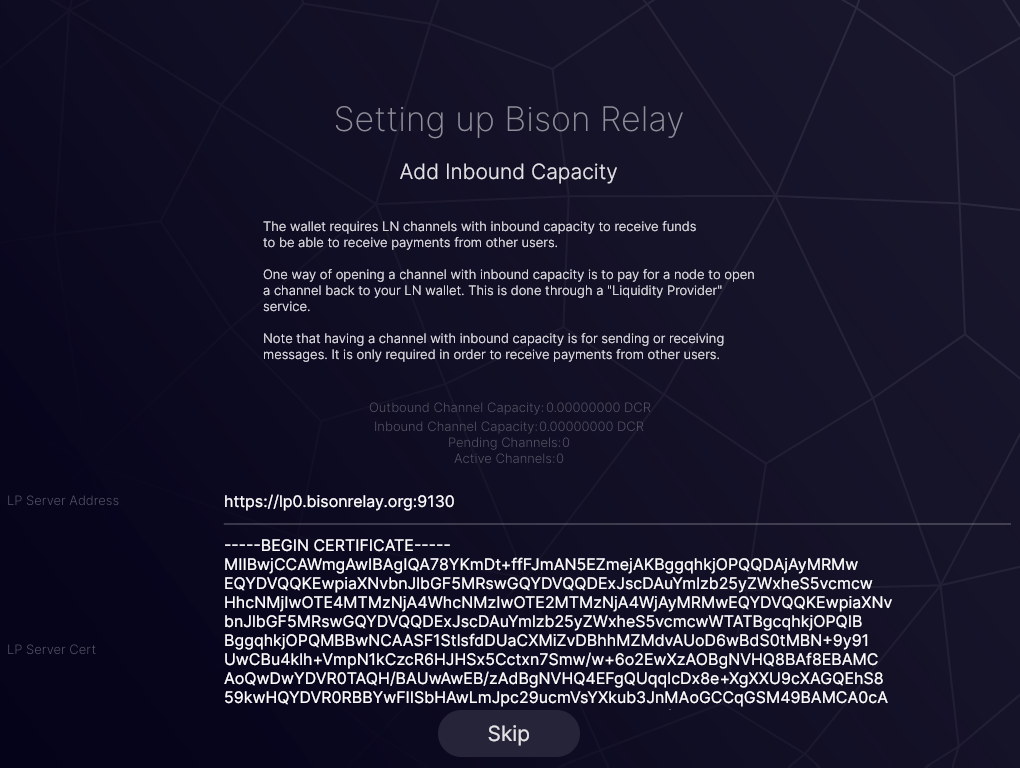
8. Inbound Channel Required
To be able to receive funds or be paid for content you provide to others you can choose to create an inbound channel on the Lightning Network.
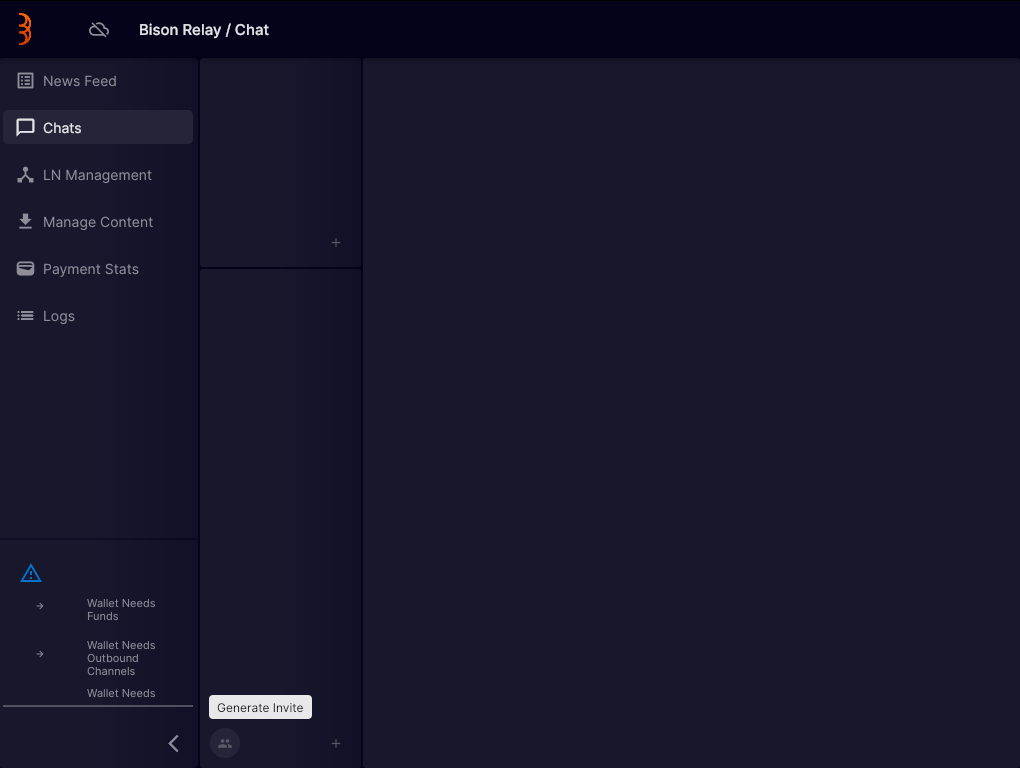
9. Generate Invite
To communicate with another current user of Bison Relay you can generate an invite and transmit to them via email/other secure method.
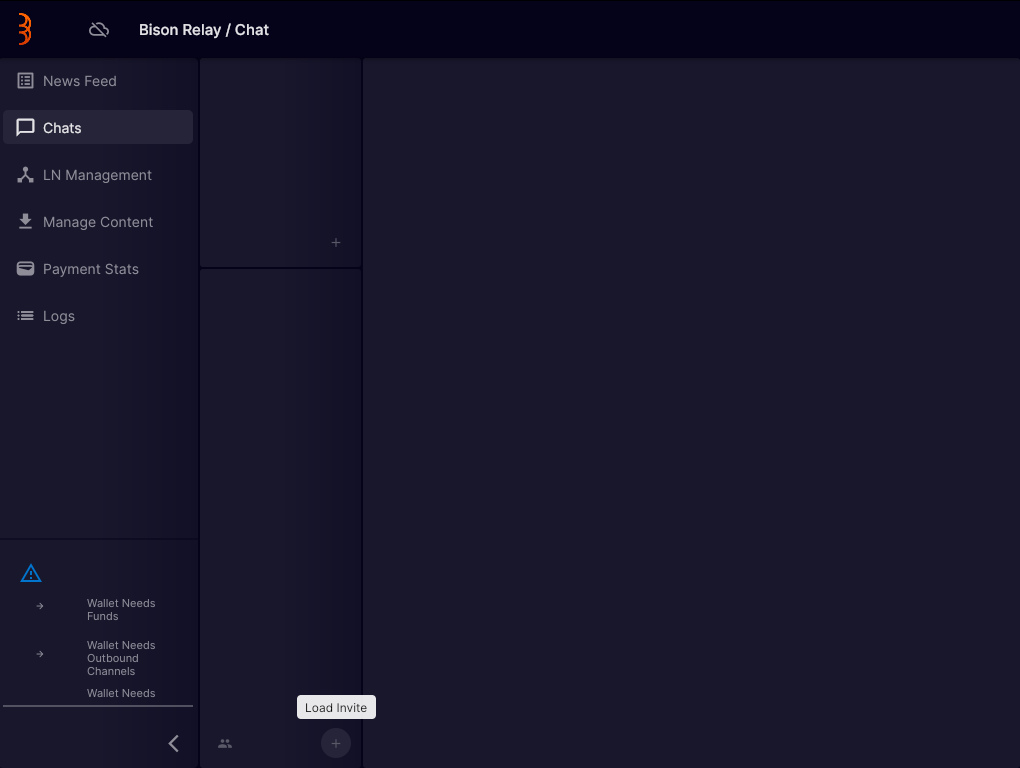
10. Load Invite
If you have received an invite you may load it as well.